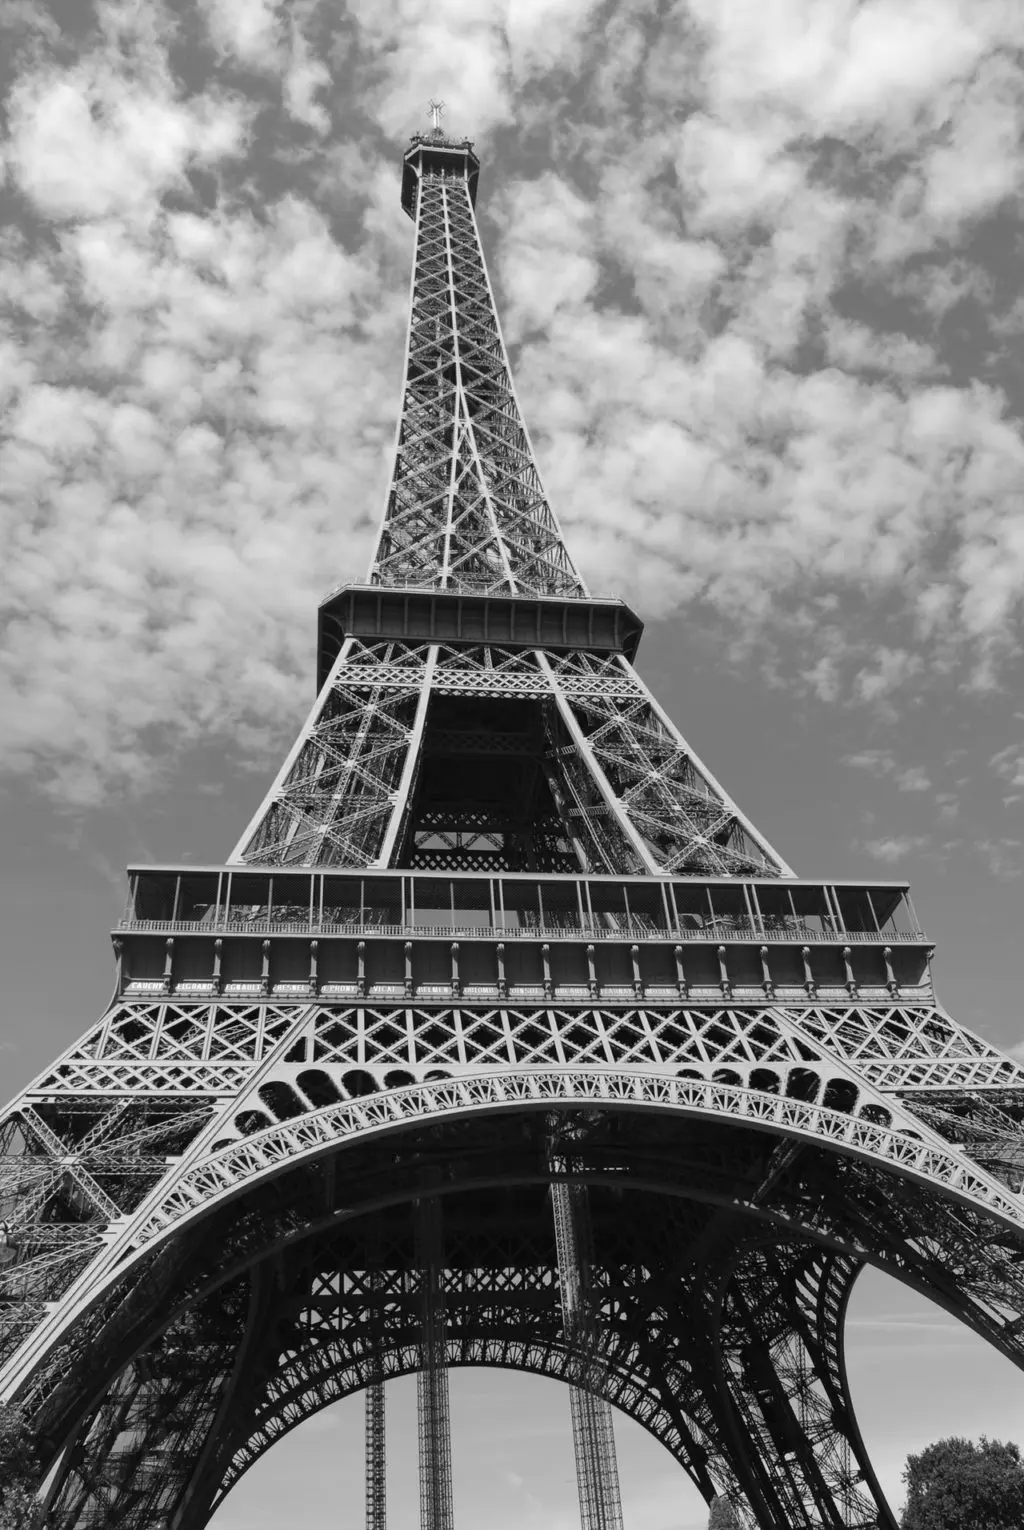
Black and White Picture by Wikipedia Commons.
Firstly you should put your camera on Monochrome mode which enables the camera to take a picture in black and white and not color. A canon camera is the best choice for this type of picture.There isn't any color in these pictures so try to use as much light and shading possible to help in the pictures outcome and don't try to find light always in expected places.
With black and white pictures you have to be safe as many colors can mix or blend together this can also happen with people if you are taking there picture of them with the same shade in the background as there clothes or hair.Watch out for the hotspots in the picture. Boost the tones it will get the picture to look better and more beautiful. Choosing the best lense are also a major part in taking pictures and lastly explore your choices instead of taking the same types of black and white pictures.
In the above picture the person taking the picture not only has taken a black and white but also a worm's POV which is just a picture taken from the bottom making it look like a insect or worms POV.
More Monochrome Information

Shutter Speed Picture by Picture Correct
For different items,things,areas you use different types of shutter speeds if you are taking it of a car race or anything quick then you will first mount your camera on a tripod.
After doing so set your shutter speed to a open for about 1/10 of a second or slower and narrow your aperture down to about f/11 or smaller for longer exposure, keeping your ISO as low as possible. Depress your shutter release the button and wait for the camera to complete the shot.
On the other hand if you are taking a picture of a waterfall or anything slow then you won't be able to use the same shutter speed so in this case you will apply the same concept of setting a slow shutter speed and small aperture, using your tripod for stability.
This will allow you to capture the motion of flowing waterfall or river or anything slow, giving a lively feel to your picture.
In the picture above the people have used a tripod for the following picture maybe they put it on a bridge and took it from the first shutter speed.
More Shutter Speed Information

HDR Picture by GIMP Tutorials
HDR is a abbreviation for High Dynamic range Photography.It's a post-processing technique that involves combining photos taken with multiple exposures to create a single optimized image, or editing a single photo to correct exposures.
HDR pictures are not that hard to take most pictures will ask to be put on tripods such as this one because they will need to have absolutely no movement or it can make the picture mess up.
Once you do that you will adjust the camera settings to your desired level even though you will get the perfect shoot if you it's taken raw. take the picture through bracketing such bas exposures.
lastly you will edit the picture as you would like to such as tweaking it changing the low light areas,etc.
The picture above has been taken just like that and has been edited so it doesn't look like a normal water surface but almost like a different world with the sky and water being like the pink and blue mixture.
More HDR Information