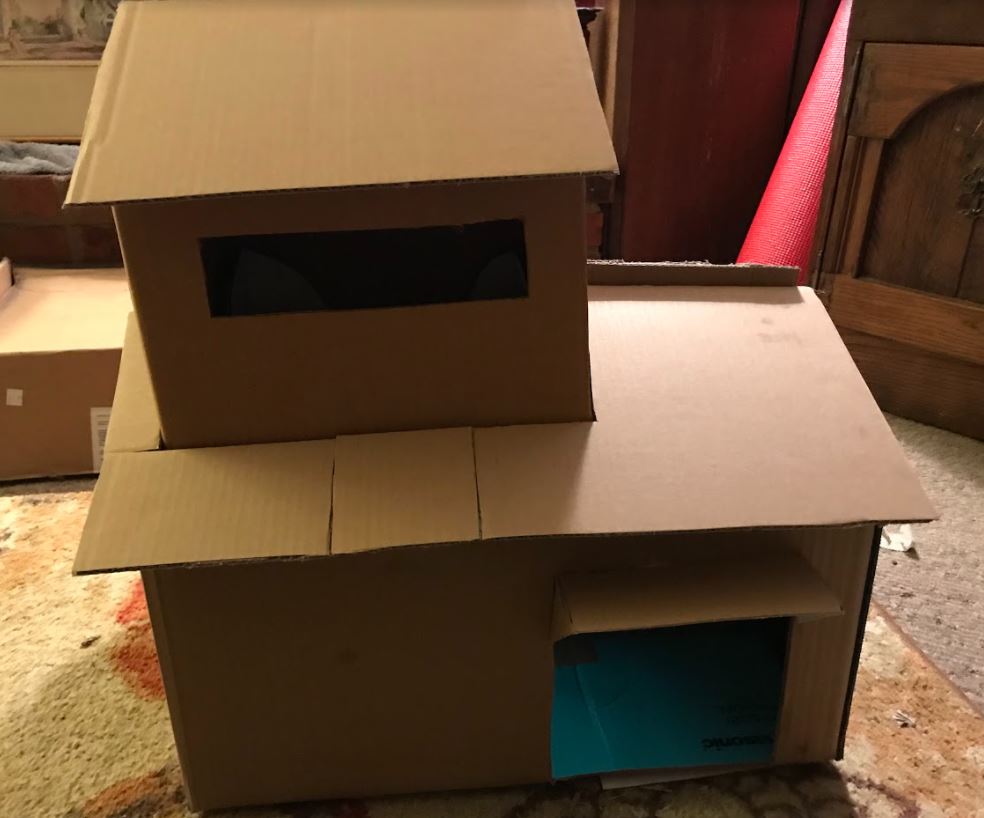
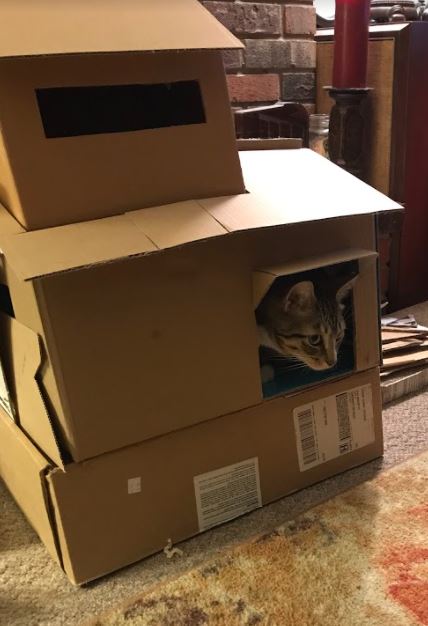
Time to create your masterpiece.
Not that your cat will know the difference.
You'll need some supplies for your journey. You will need something that can cut, something that will hold your art together, and some materials for planning. Well, maybe not that last part if you're up for a more risky adventure. Refer to the Help page for more advice on the proper tools.
First: Get your cardboard. All of it.
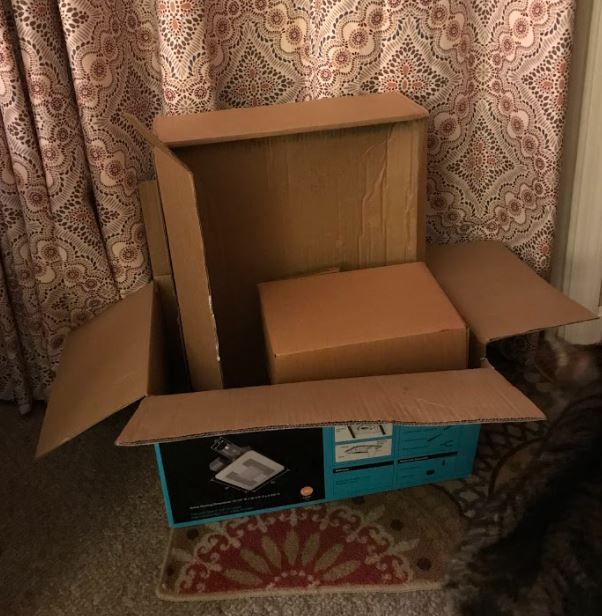
Get an idea of what you want to build too. Make a drawing, look at your boxes, that kind of stuff.
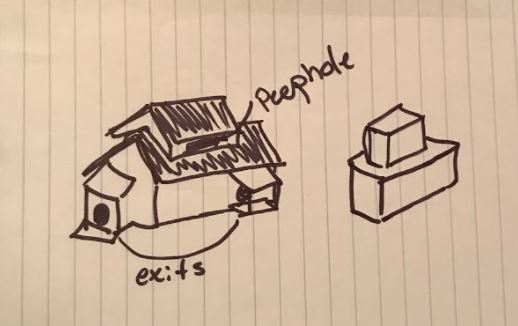
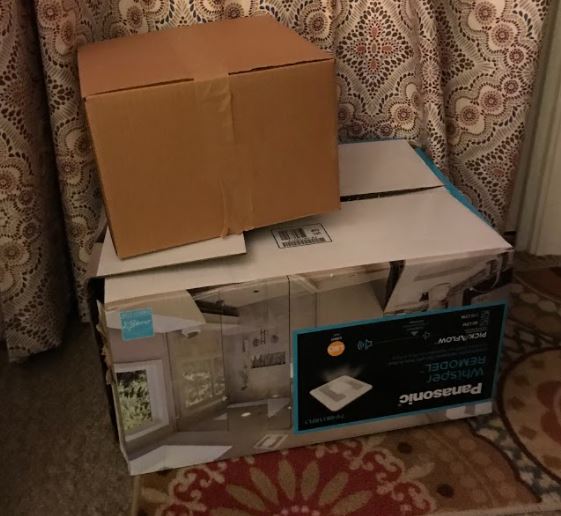
Time to do some rough planning. Mark where you want doors, windows, then cut them out. If you're brave, you don't need a ruler.
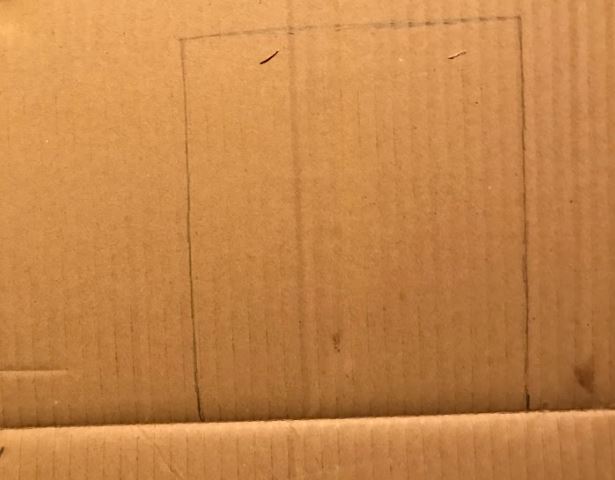
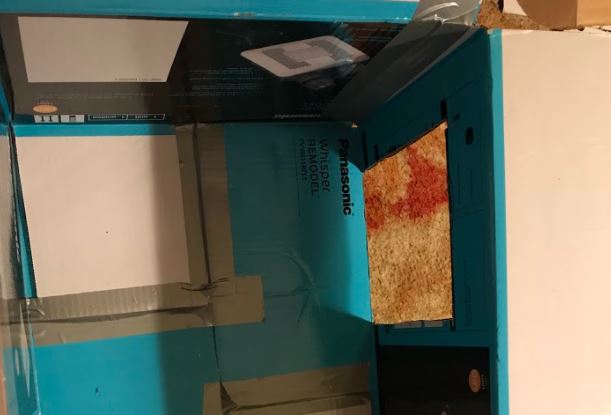
I can't forget a hole for the cat to get to his second level!
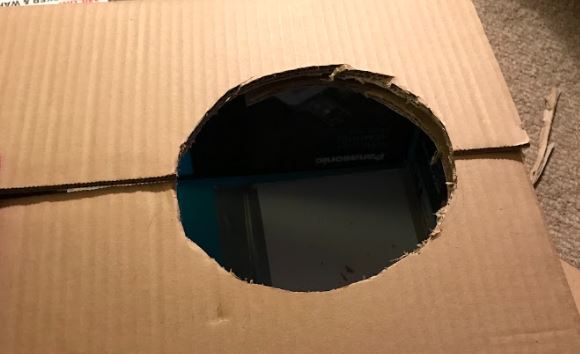
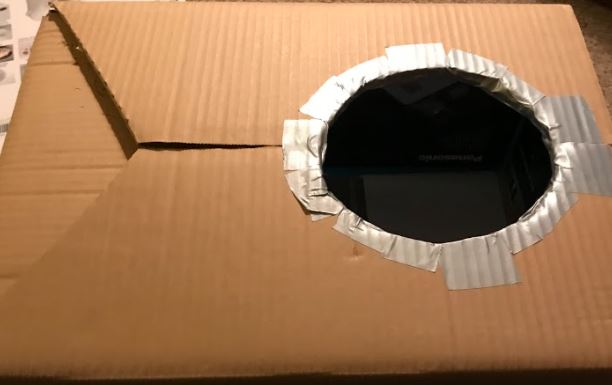
Test out the look and placement, and then it's time to secure it to the first floor! I wanted to be able to take it off, so I made some unusual supports.
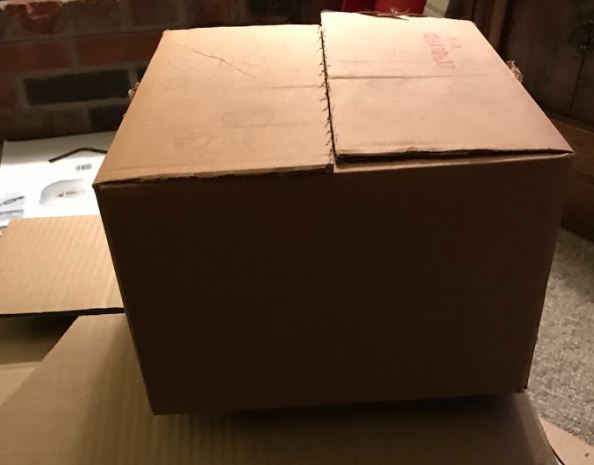
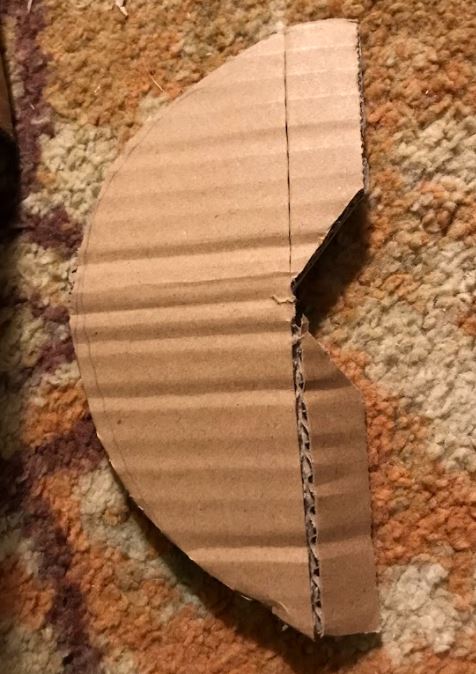
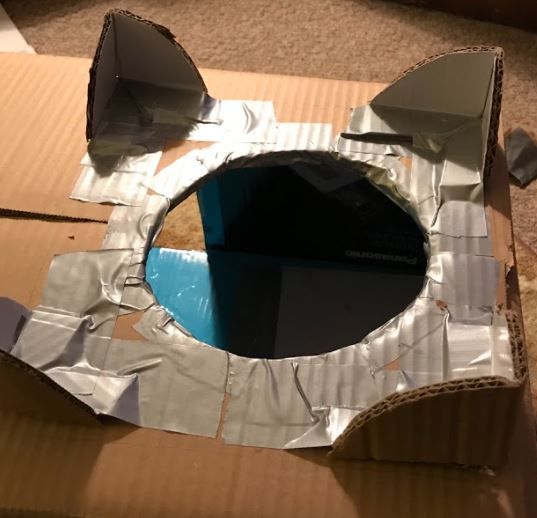
For the smaller roof I'm going to make the center support, and then attach the actual plates of cardboard.
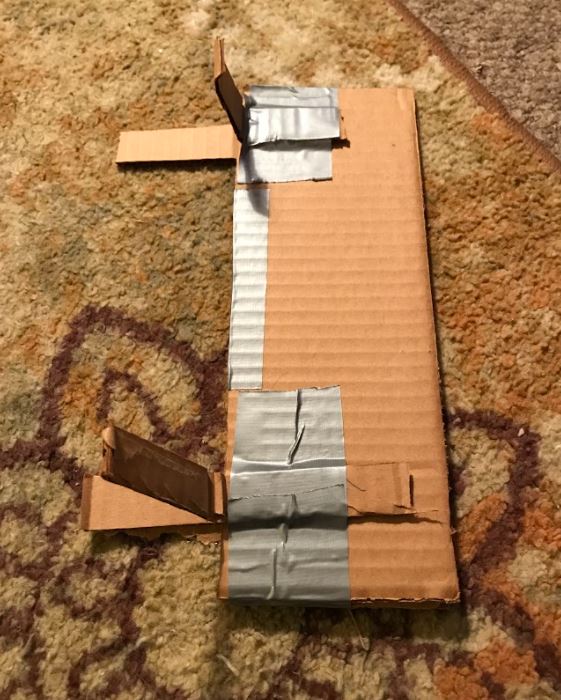
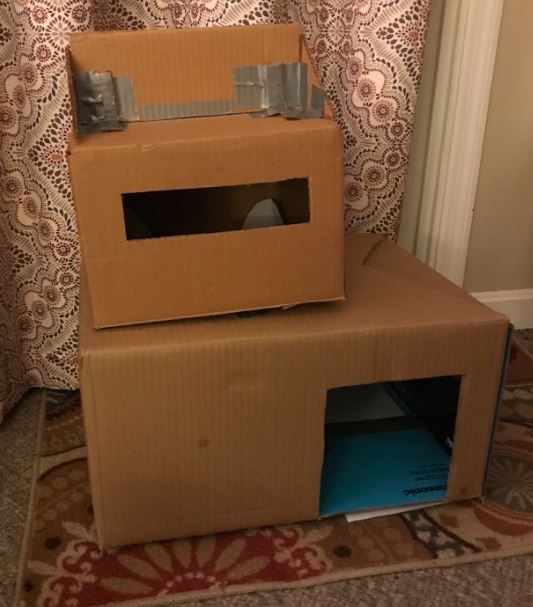
Now to use our supports. Here is how we're going to attach them.
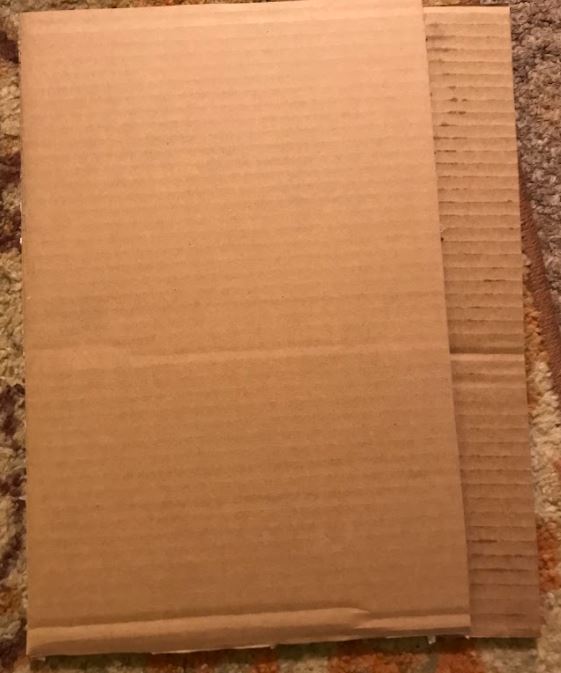
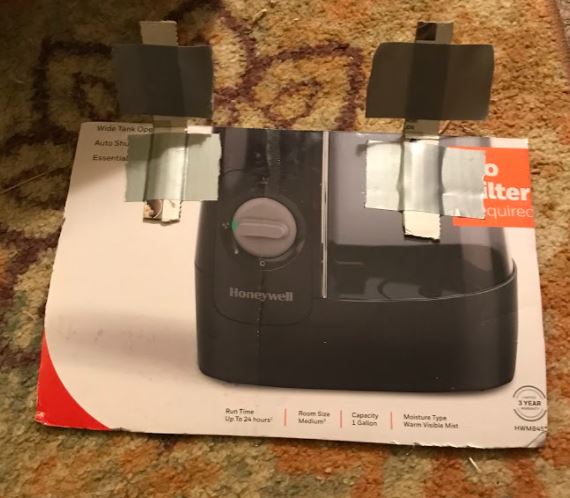
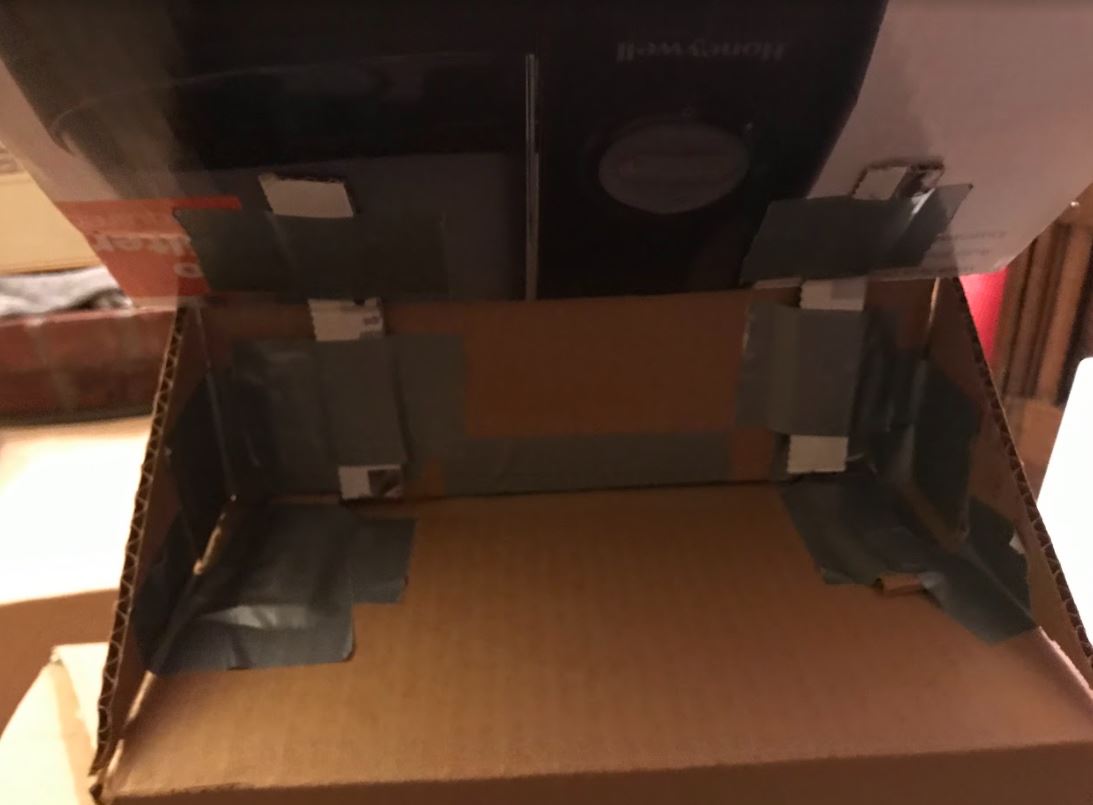
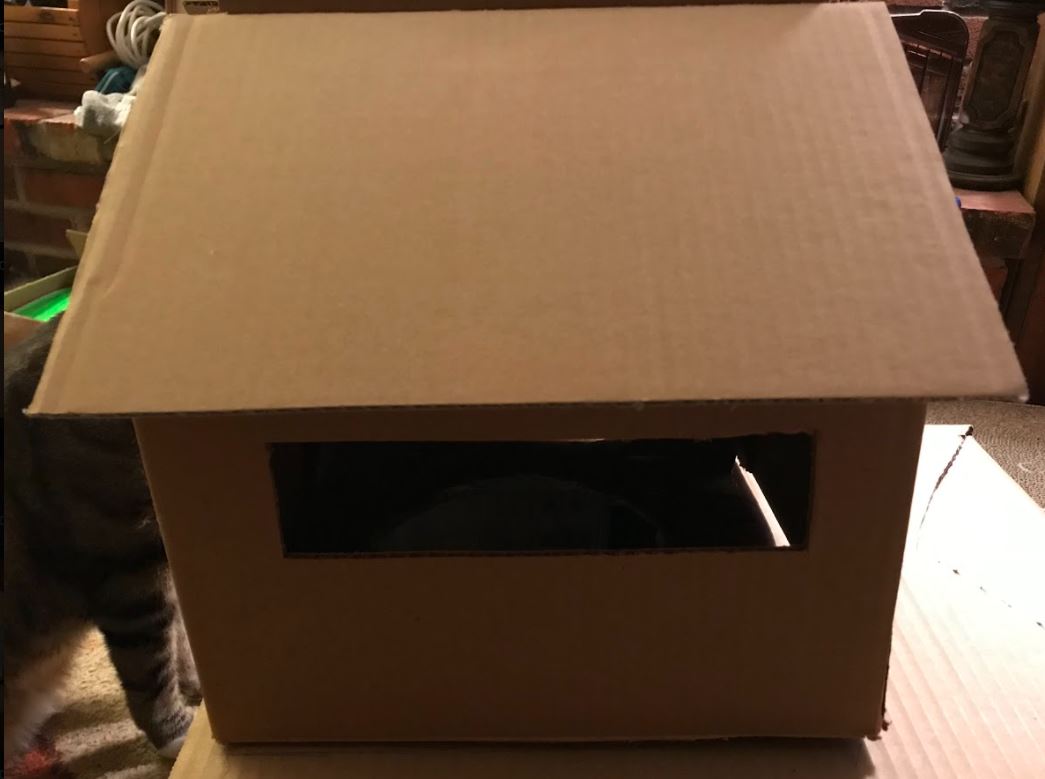
Now we have to finish the big roof. We'll do it about the same way as the smaller one.
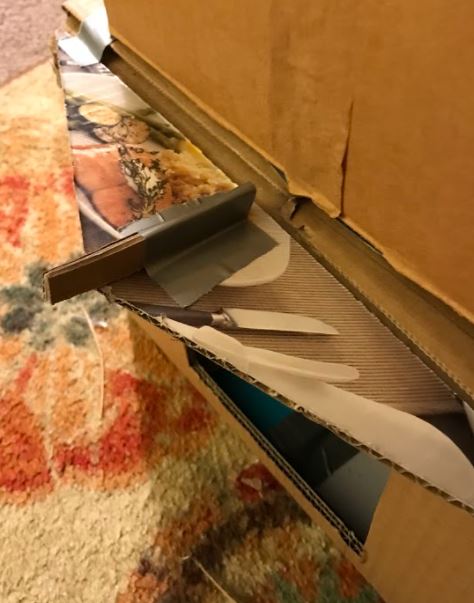
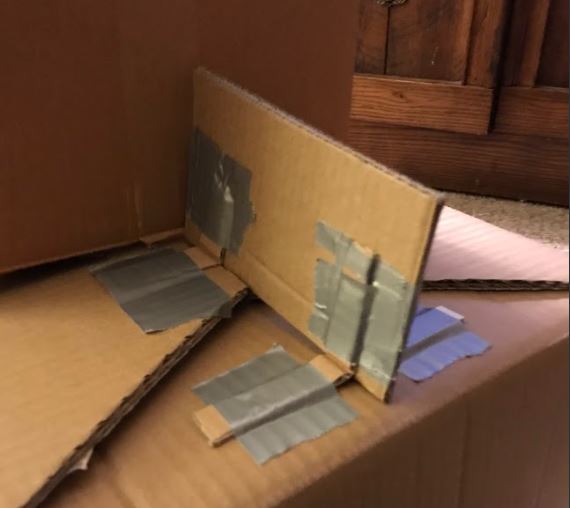
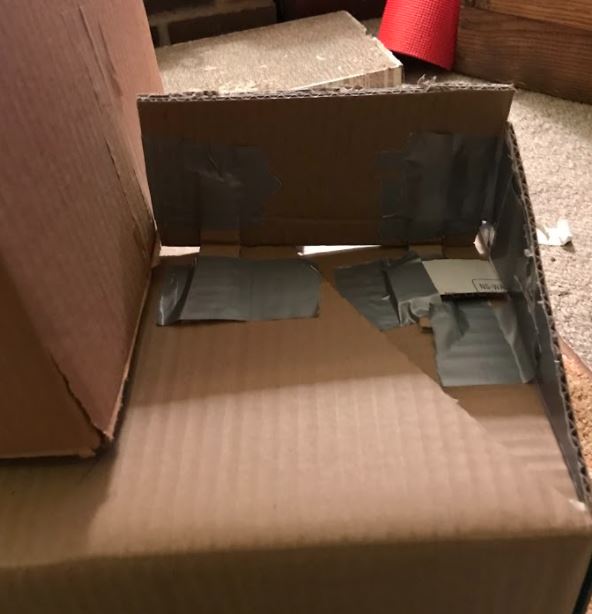
Now you have to add the roof the saw way we did last time.
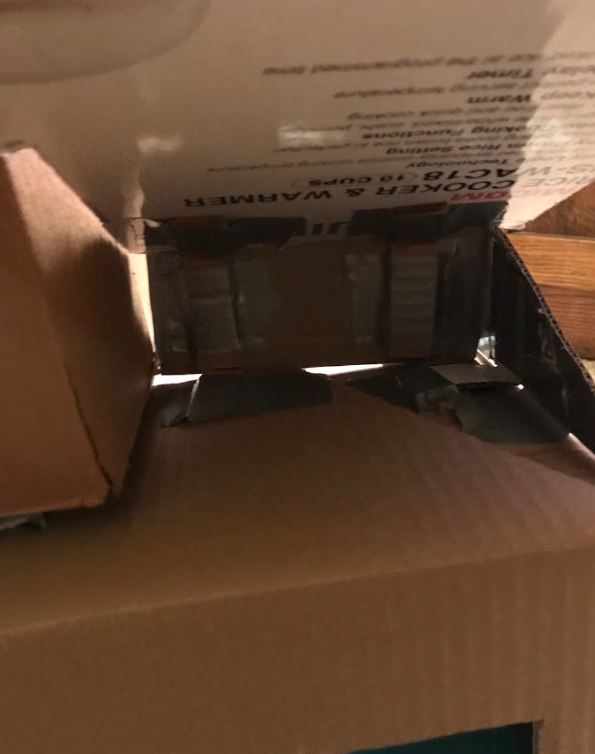
This is it. We are done, and Teddy has become a ho-meow-ner.
