Collaborate is actually a program that runs on your computer. To follow these instructions, you will need to
be logged in on the computer with an account that has the authority to install software. This demo will walk you
through getting collaborate up and running on a Windows PC. Think of collaborate like Skype,
but it has a lot more features and is better suited for sharing and learning. Also, this demo will show you how to make a
new room instead of joining an existing room.
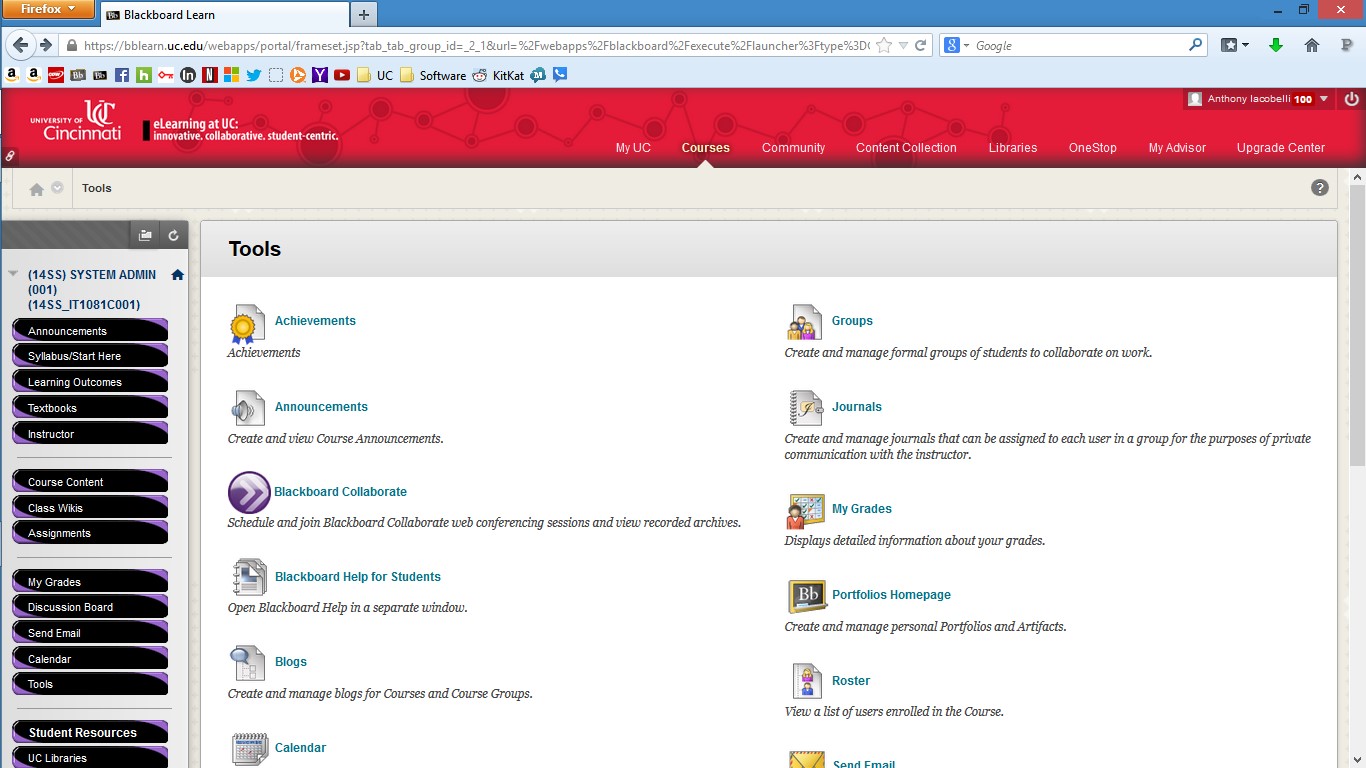
With that being said, you can get to the installer from the "Tools" link found in any class or on the blackboard home page.
Once you click on tools, a page similar to the image below should appear. To get started, click on the link for collaborate.
Getting Started
Step Two
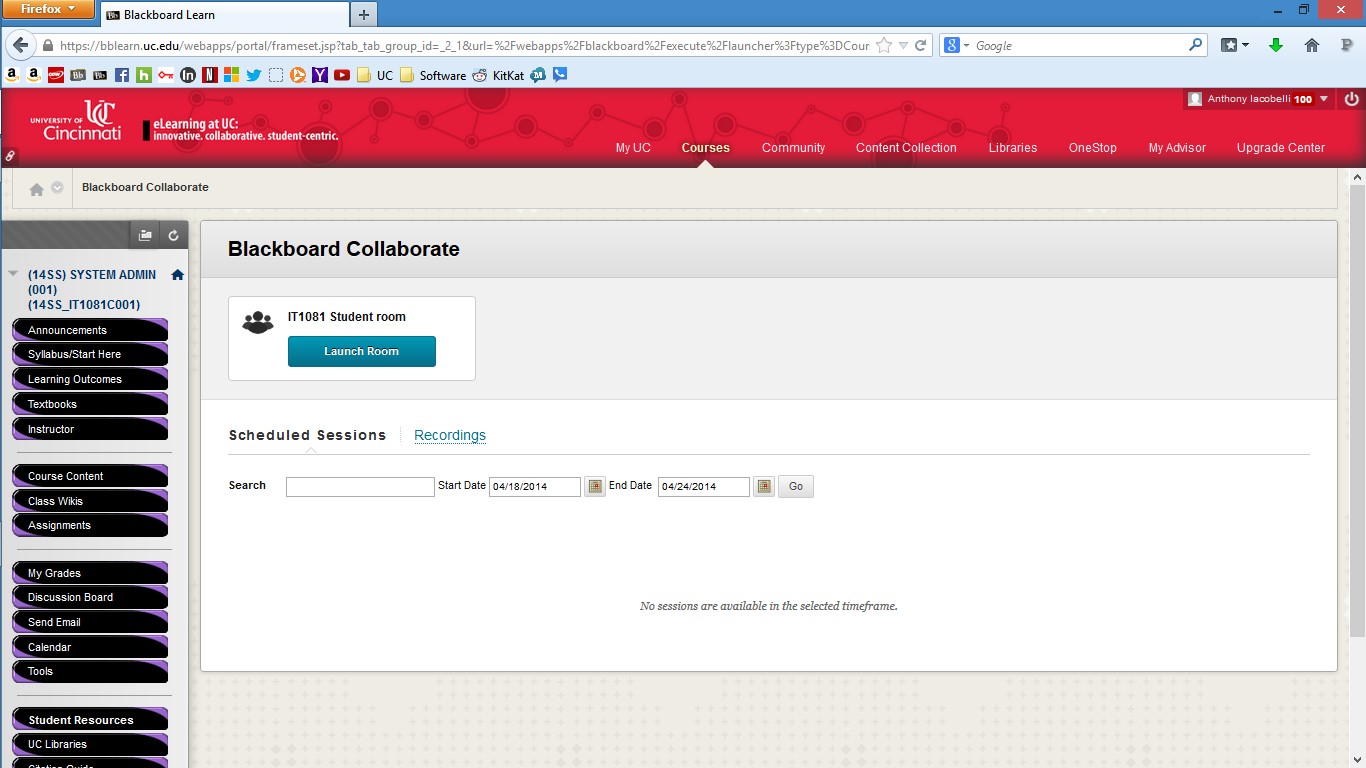
If there is a session already scheduled, click on that session. If not, click on "Launch Room" at the top of the page.
Step Three
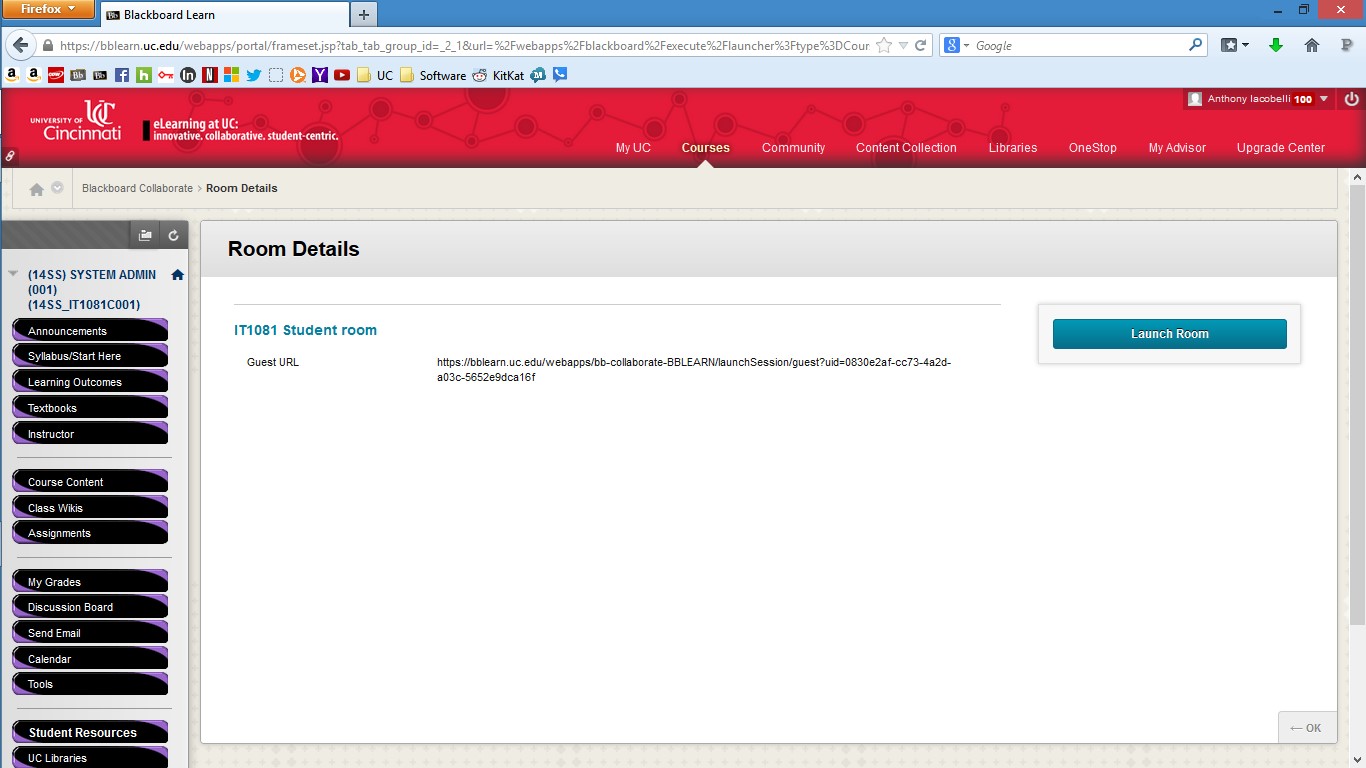
Click on the "launch room" button again. If you have the collaborate software already installed, then it will take you to the software and the rest of this tutorial will be of no use to you. If you do not have collaborate installed, please follow the below instructions to get collaborate on your PC.
Step Four
Click on the "Okay" button. This will start the installer program.
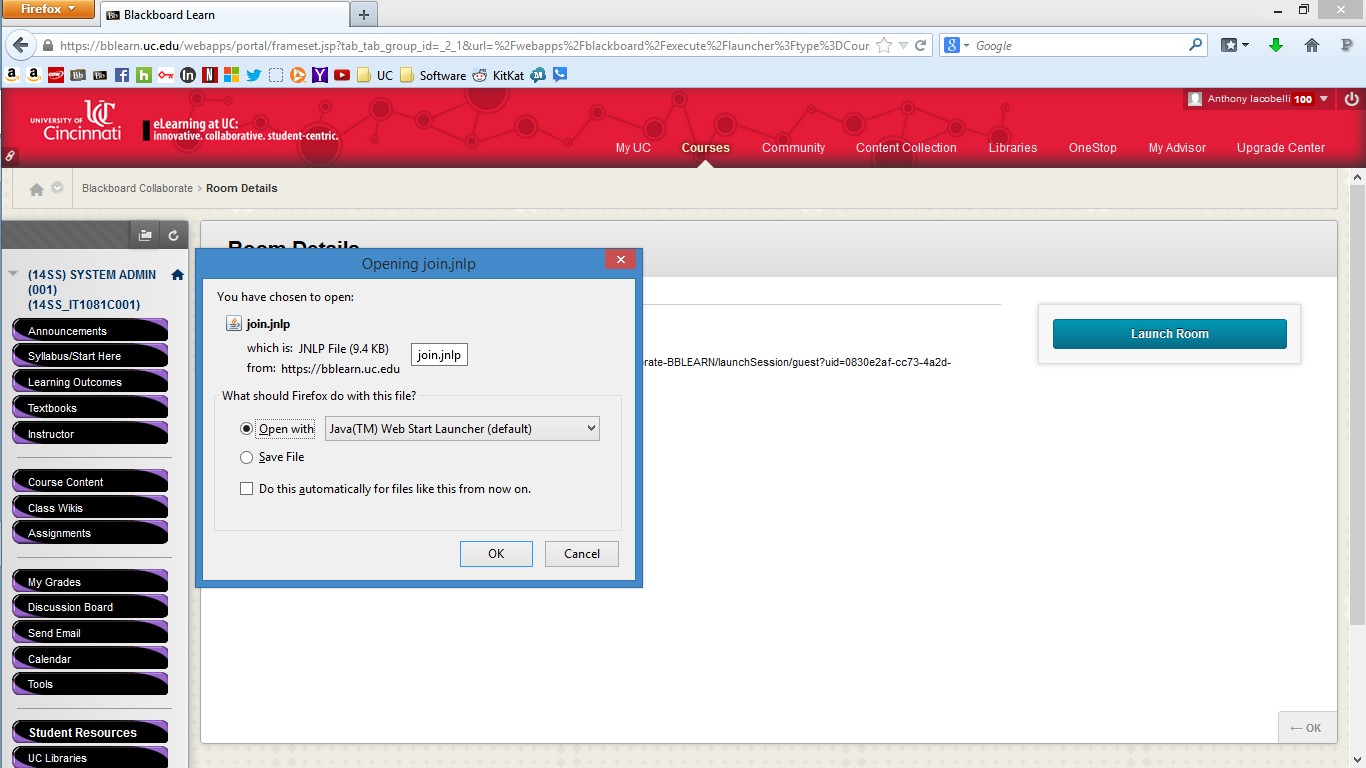
Step Five
The collaborate software will begin to download. All you have to do for this step is watch the pretty green bar go across the screen.
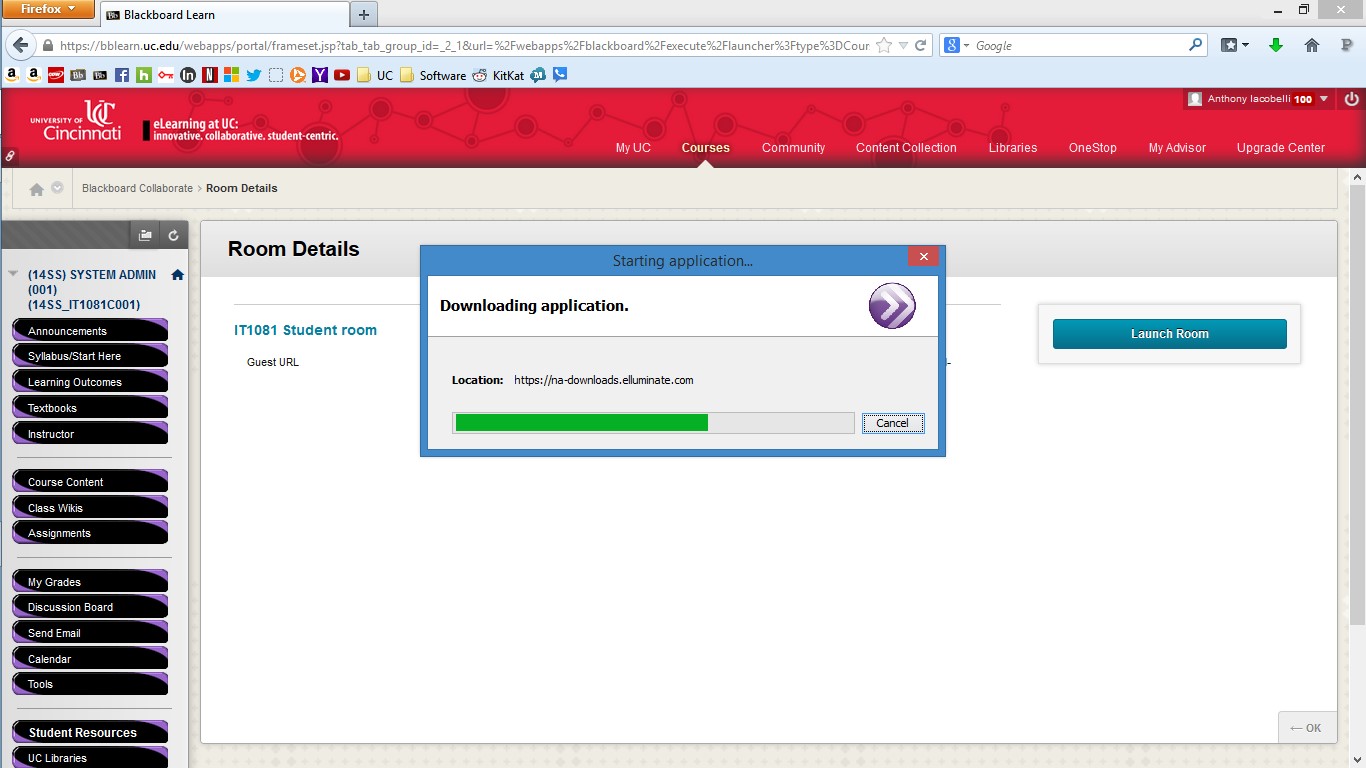
Step Six
Depending on the security settings of your computer, a warning may pop up. Click on okay. This warning is nothing to worry about.
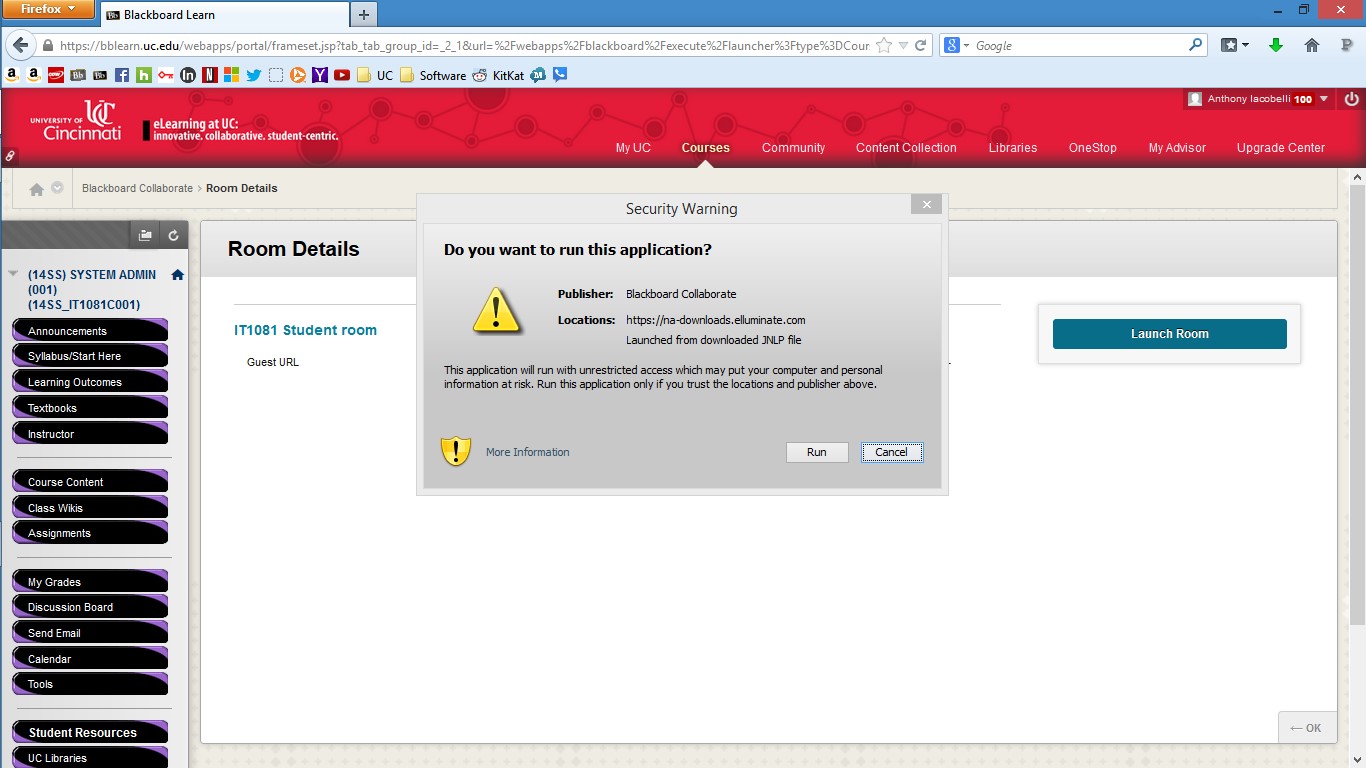
Step Seven
Click on Accept.
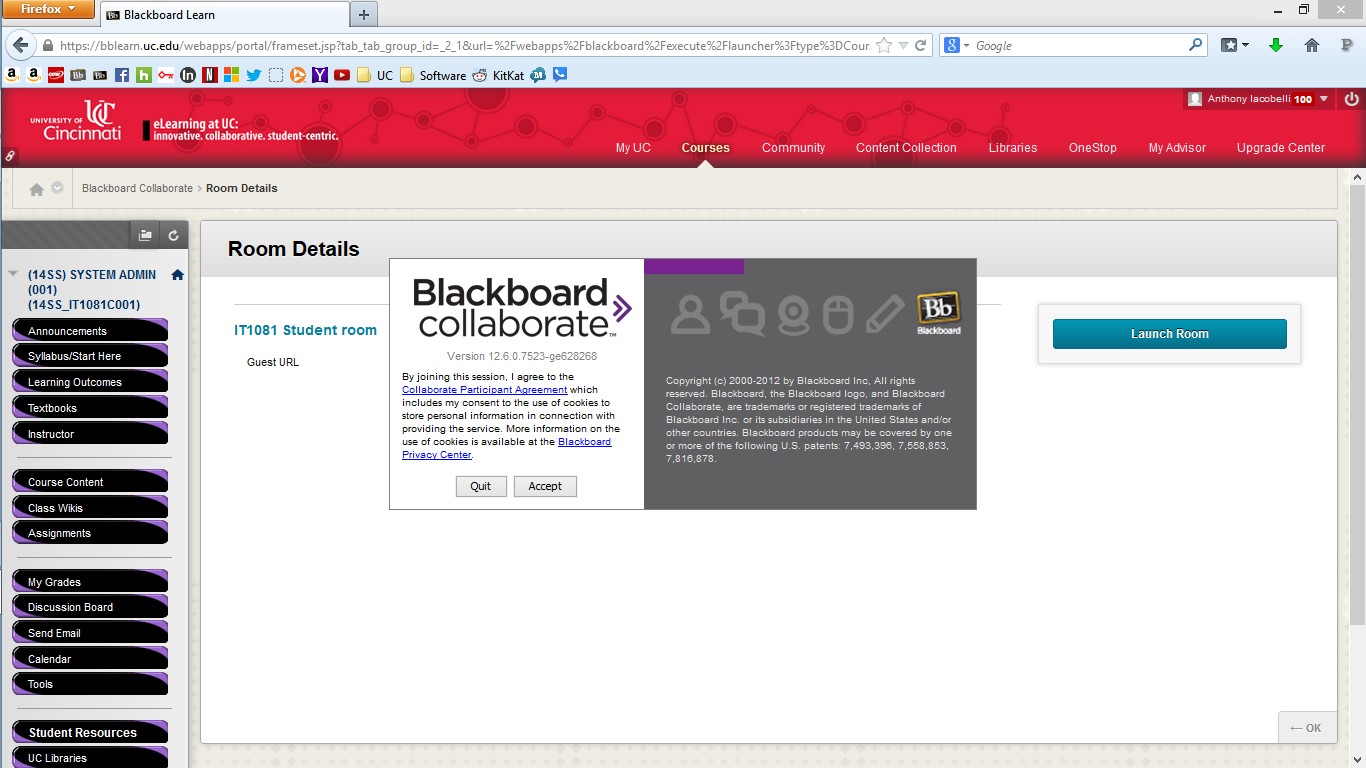
Step Eight
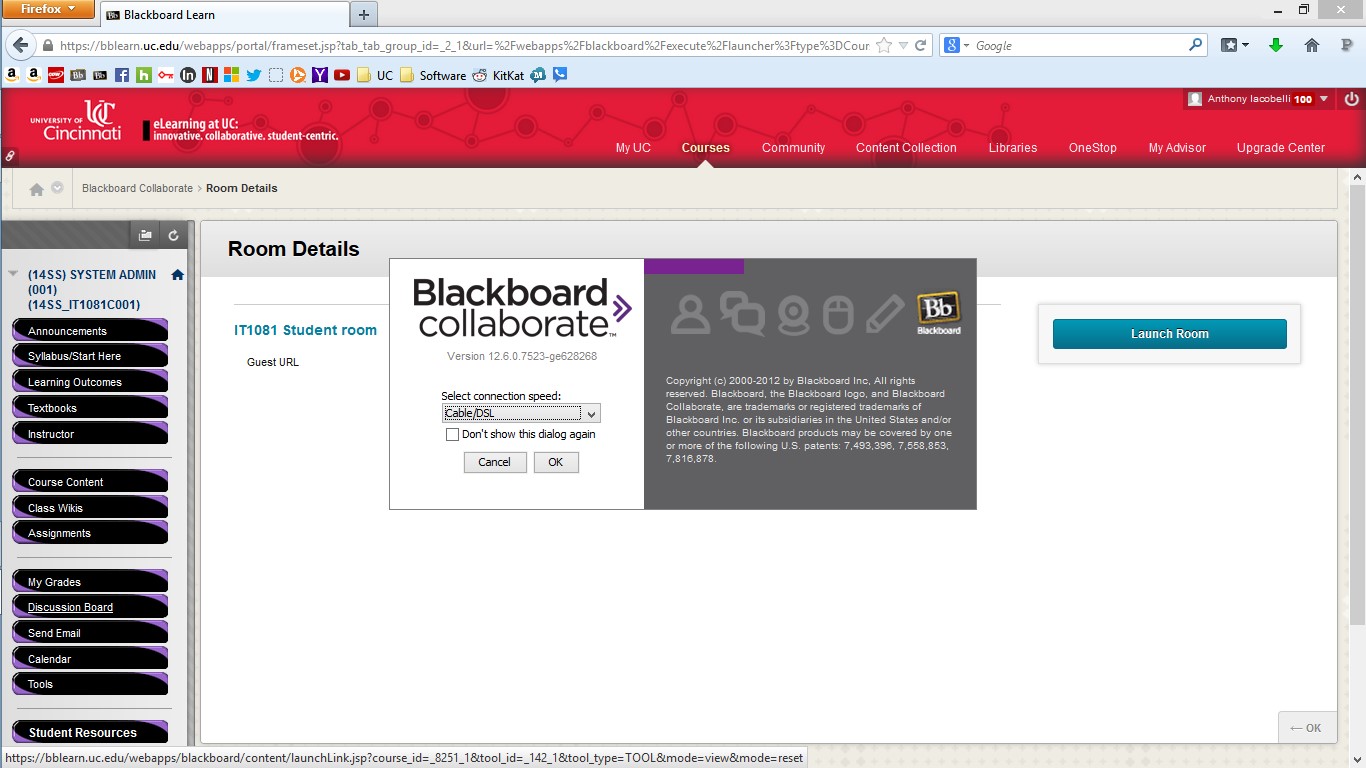
Select the appropriate connection option. If everyone in the collaborate session is on UC's campus, select LAN for best results. If you are off campus or are collaborating with people who are all in diffrent places, you'll want to choose cable/DSL.
You're Done!
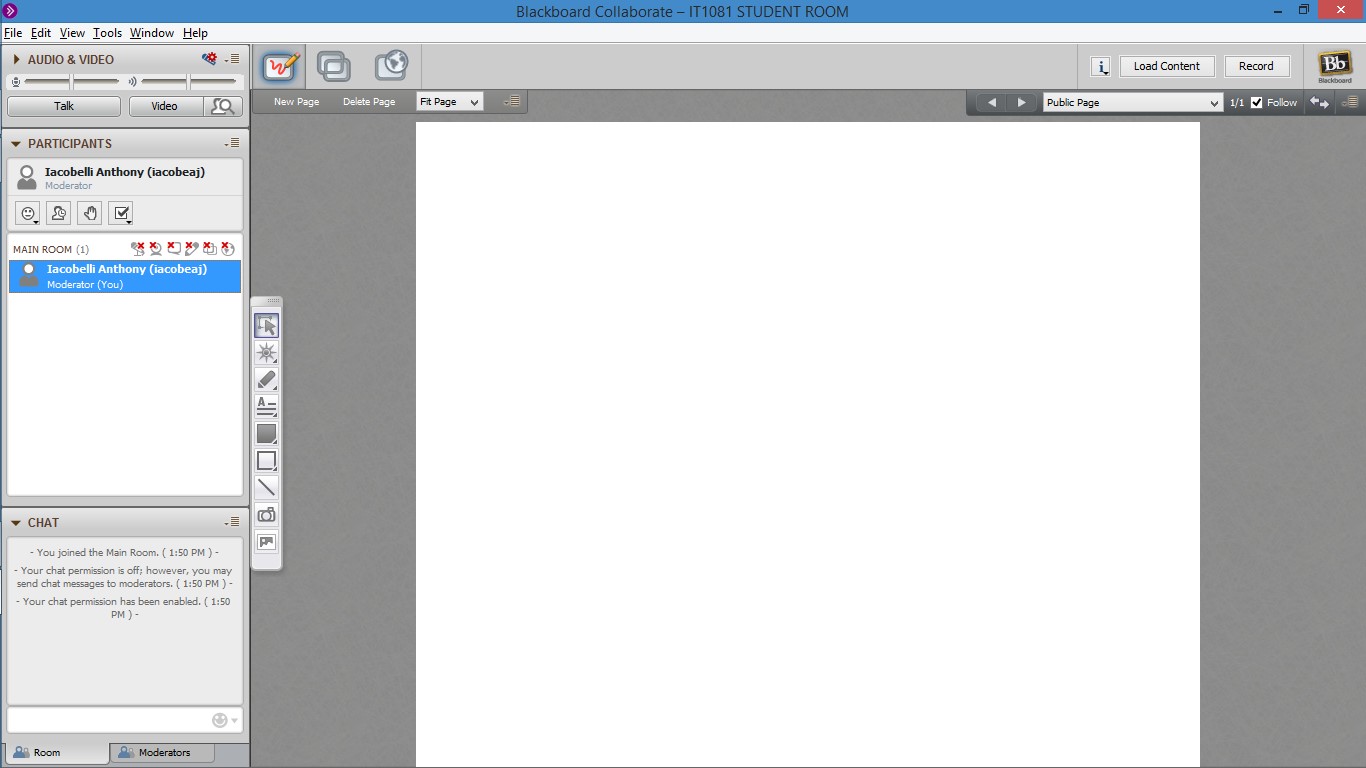
Congrats! you have successfully installed collaborate and it should now be running on your PC. The screen should look similar to the one below, and others can join your room that you created. If you have any other questions, contact blackboard support or do what the IT people do and google your issue!
